
OBS Tutorial


Introduction
So you want to stream with EMS?
Great!
Streaming is a great way to improve as a synthesist and an incredibly easy way to share what you’re working on. EMS is an incredibly welcoming community who hosts everything from rowdy techno to gentle noise sets. If it can be made on a synthesizer it will likely find an audience at EMS.
This guide will walk you through connecting OBS to our restream servers, as well as a few customization options.
Let’s get started!
I. Contents and Introduction
II. Prerequisites
You don’t need much equipment to stream with EMS. Many users will use a webcam of some sort, but the bare minimum is a computer running OBS and a way to get audio into said computer.
If you’re planning on streaming with VCV rack or another “soft” synth, then the sound is already in your computer! In this case you’ll just need to do some plugin trickery to pipe the sound into OBS.
Any webcam will work, if you’d like to go that route. Many users will use Droidcam to use their phone, or now that functionality is baked into Mac OS. Don’t worry too much about the resolution of the camera, as we’ll be setting our video settings fairly low in order to conserve bandwidth.
We ask that everyone who is interested in streaming reads our streaming rules, found in the #rules channel on the Discord.
And finally, you will need to request a “stream key” from an admin in the #stream-as-ems channel. We’ll use that to connect your OBS to restream, and it’s what will tell everyone who’s streaming.
With all of that out of the way, let’s get started setting up OBS!
1. Setting up
You can find the OBS installer at https://obsproject.com/
Installing the application is outside the scope of this guide, but once you do have it installed the first thing we’ll want to do is set up your stream key.
Let’s start by opening the settings tab in OBS.

Once there, select the “Stream” tab on the left hand side.
Then select “Custom…” in the service box.
There are two server options:
US Based: rtmp://ems-us.isitdoneyet.co.uk/live
UK Based: rtmp://ems.isitdoneyet.co.uk/live
They both go to the same place, so use whichever is closest to your geographical location.
Finally, insert the stream key that you received from Waffle.
2. Output Settings
Next, open the “Output” tab on the left hand side.
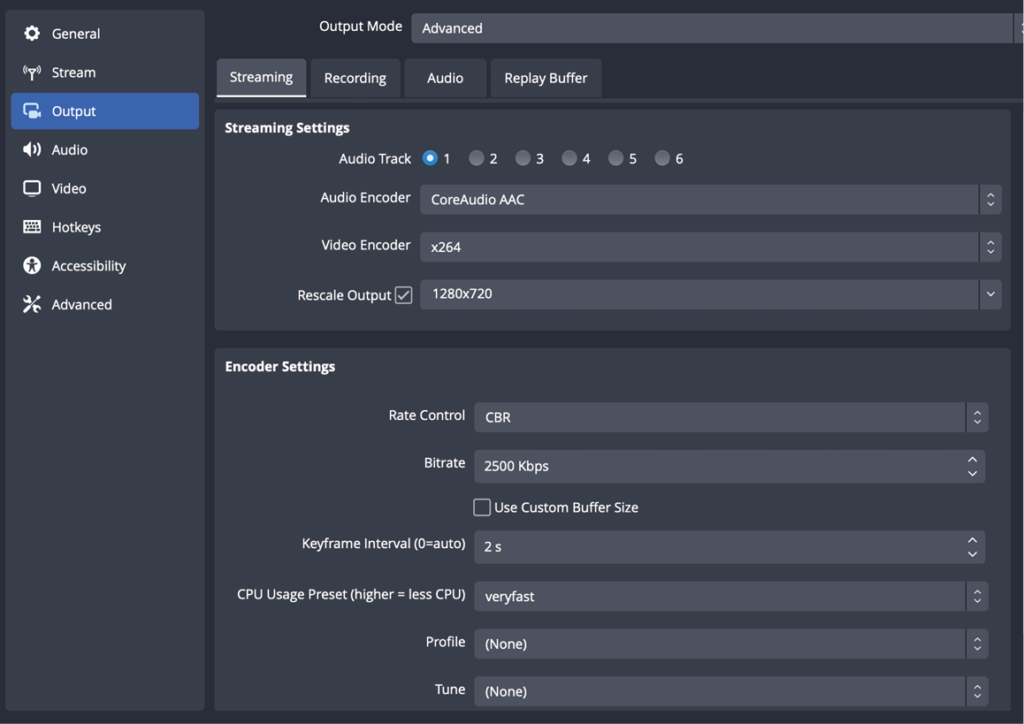
Here you can customize the Stream and Recording settings, though this guide will only focus on the streaming settings.
Switch the “Output Mode” to advanced and copy the screenshot.
Some settings may differ based on your system, but the important bits are the Video Encoder, Rescaled Output, and Bitrate. Once finished, click “OK” at the bottom of the screen to save all of our changes.
Now that all the boring housekeeping is out of the way, we can move on to the fun settings!
3. Audio Sources
External Audio
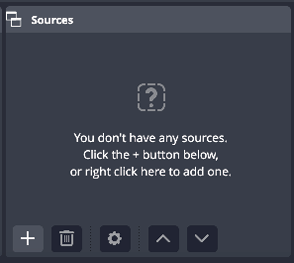
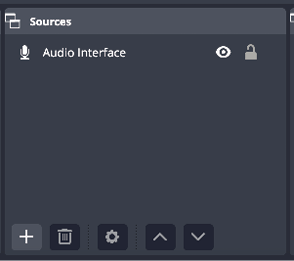
Sources are various pieces of media that you can set up in OBS, such as audio interfaces and webcams. First thing’s first, let’s get our audio sources set up!
Audio Sources
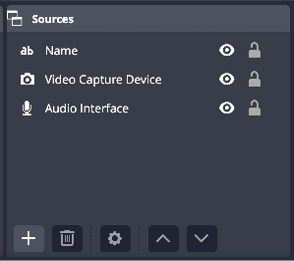
Find the “Sources” section in the bottom row of OBS. In a blank install, this should be empty.
< Click the “+” to add a new source.
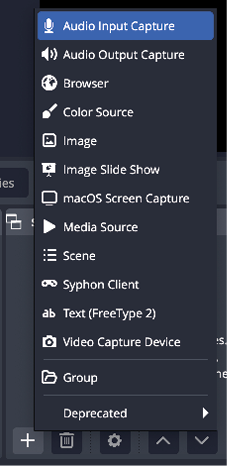
< Click “Audio Input Capture” in the options list to add a new audio source.
Finally, you have the option to name the source whatever you’d like.
The default name will work fine, but naming it something unique may help you later on down the line.
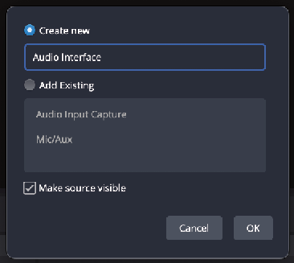
< Click “OK” to finish creating the source.
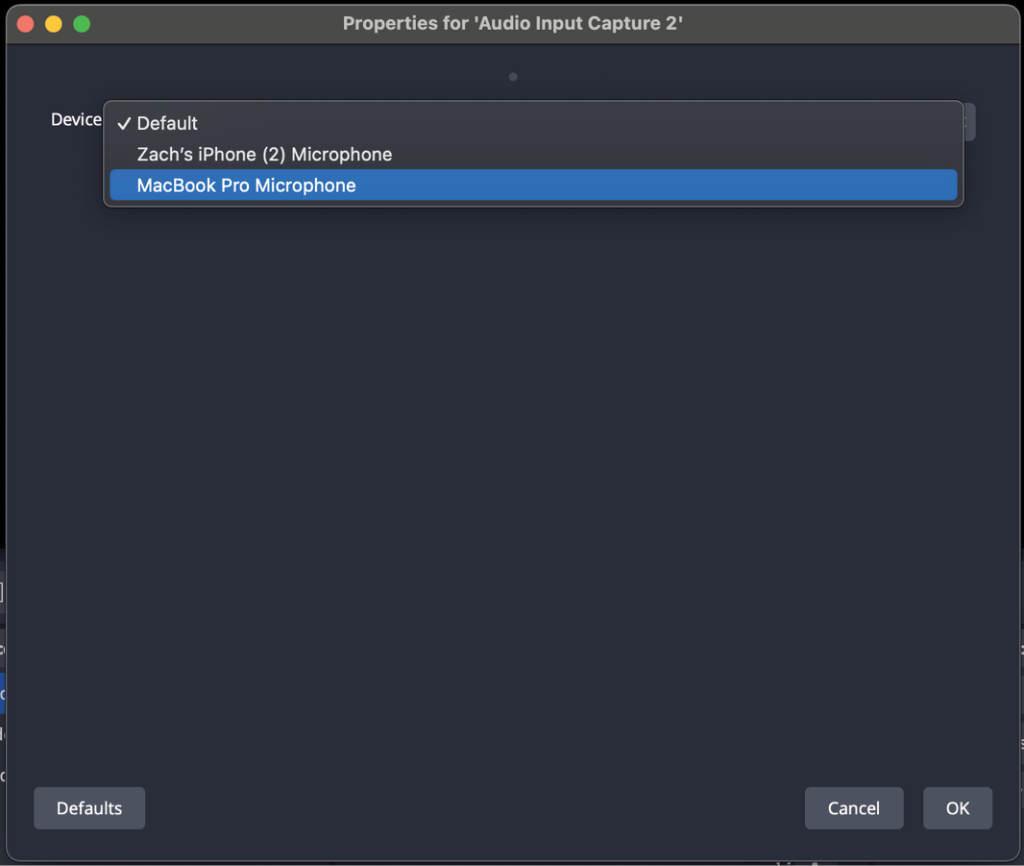
OBS should now open another window, and you can use the “Device” dropdown to finalize which capture device you would like to use.
5. Video Sources
Video sources can be added in the same way as audio sources.
Find the “Sources” section in the bottom row of OBS.
< Click the “+” to add a new source.
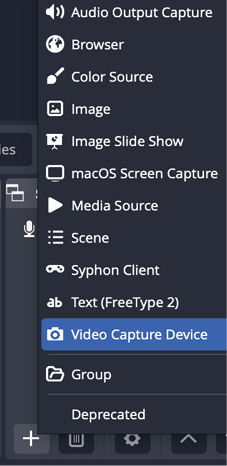
< Click “Video Capture Device” in the options list to add a new video source.
Finally, you have the option to name the source whatever you’d like.
The default name will work fine, but naming it something unique may help you later on down the line.
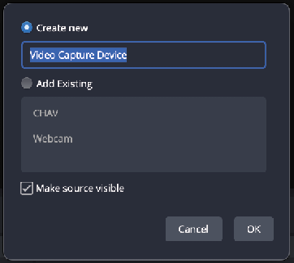
< Click “OK” to finish creating the source.
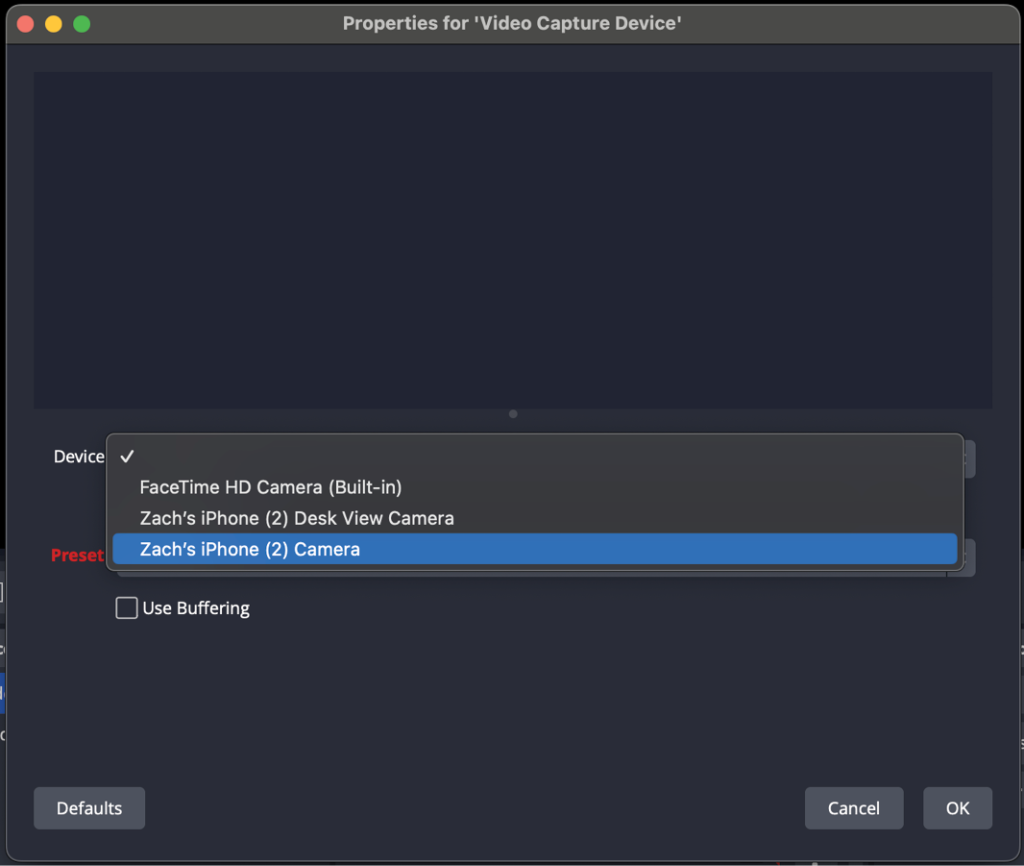
OBS should now open another window, and you can use the “Device” dropdown to finalize which camera you would like to use.
You should see a preview of your camera appear in the blue rectangle after you select a device.
7. Text Boxes
Text Boxes are a great way to display your name or any information you may to share about your patches. They begin in the same way as Audio and Video sources.
Find the “Sources” section in the bottom row of OBS.
< Click the “+” to add a new source.
< Click “Text (FreeType 2)” in the options list to add a new text box.
Finally, you have the option to name the text box whatever you’d like.
The default name will work fine, but naming it something unique may help you later on down the line.
< Click “OK” to finish creating the source.
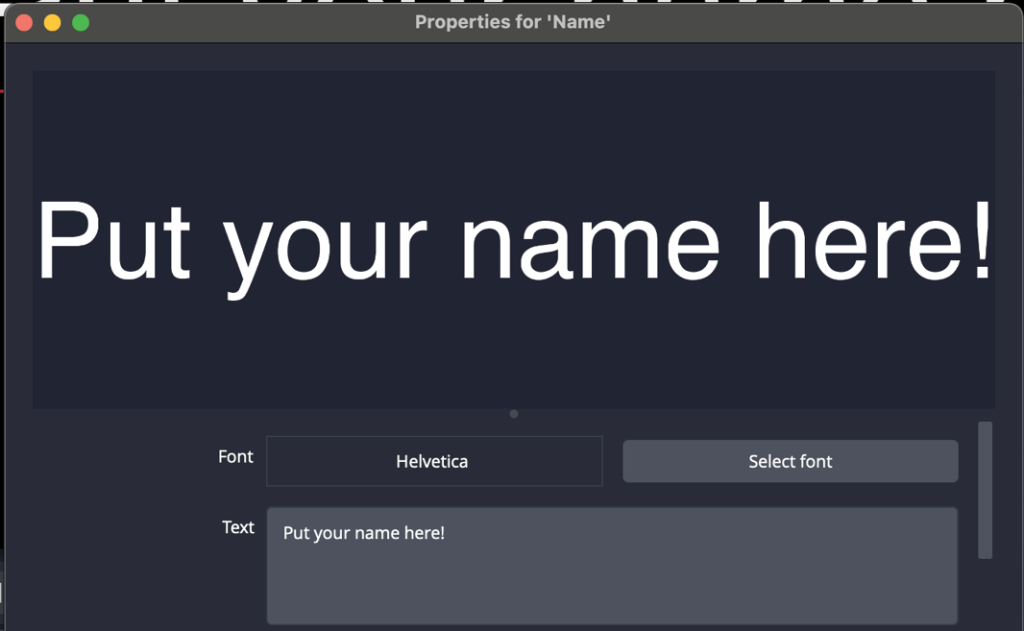
Use the “Select Font” button to choose one of the typefaces on your system to use for the text box.
Then you can type whatever you like in “Text” and it will show as a preview.
If you scroll the settings window down, you will see lots of options for formatting your text. The best way to learn them all is just click them and see how it affects the preview.
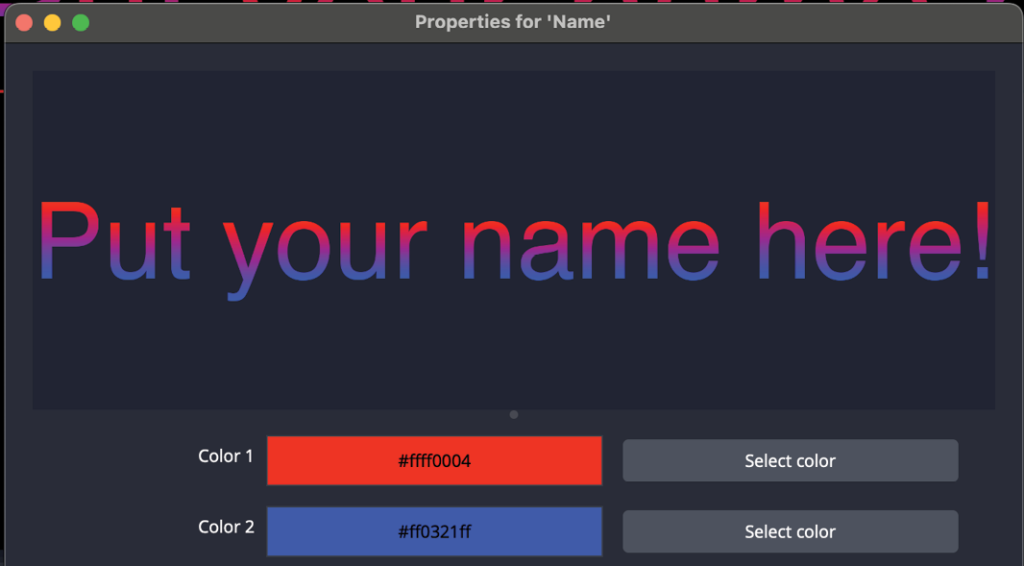
The coloring is a little odd, though. By default it is a gradient. If you want it to be a solid color, just set Color 1 and Color 2 to the same value.
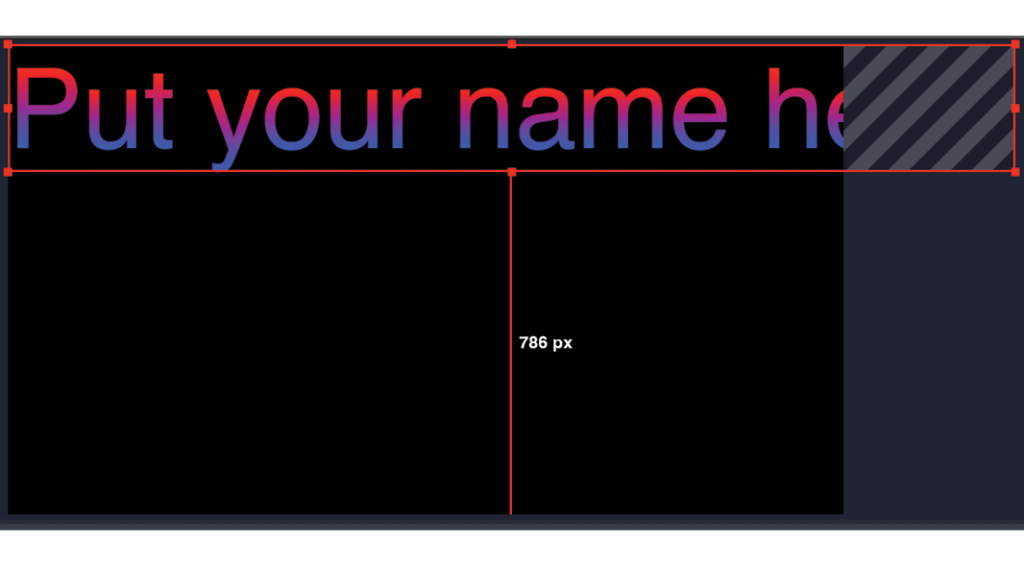
After you click “OK” on the text box dialog, you’ll be taken back to the main OBS page.
Here, your currently selected source will be outlined in red, and you can position it on the screen as you see fit. Use the red squares on the edge of the the source to resize it.
11. Adding Graphics
There are many graphics available in #shared-assets-for-streams that have been created by our users for use in our streams. Adding these to your stream layout is a great way for you to fit into the EMS “brand” and build a cohesive feel to our 24/7 stream!
Find the “Sources” section in the bottom row of OBS.

< Click the “+” to add a new source.
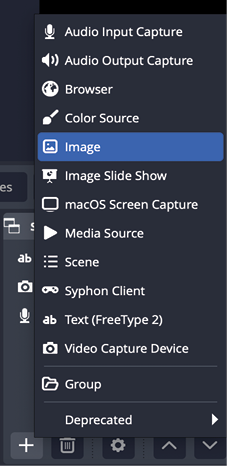
< Click “Image” in the options list to add a new image source.
Finally, you have the option to name the text box whatever you’d like.
The default name will work fine, but naming it something unique may help you later on down the line.
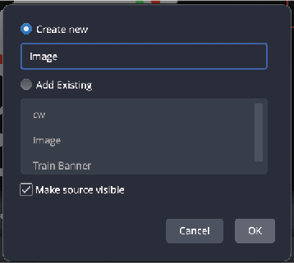
< Click “OK” to finish creating the source.
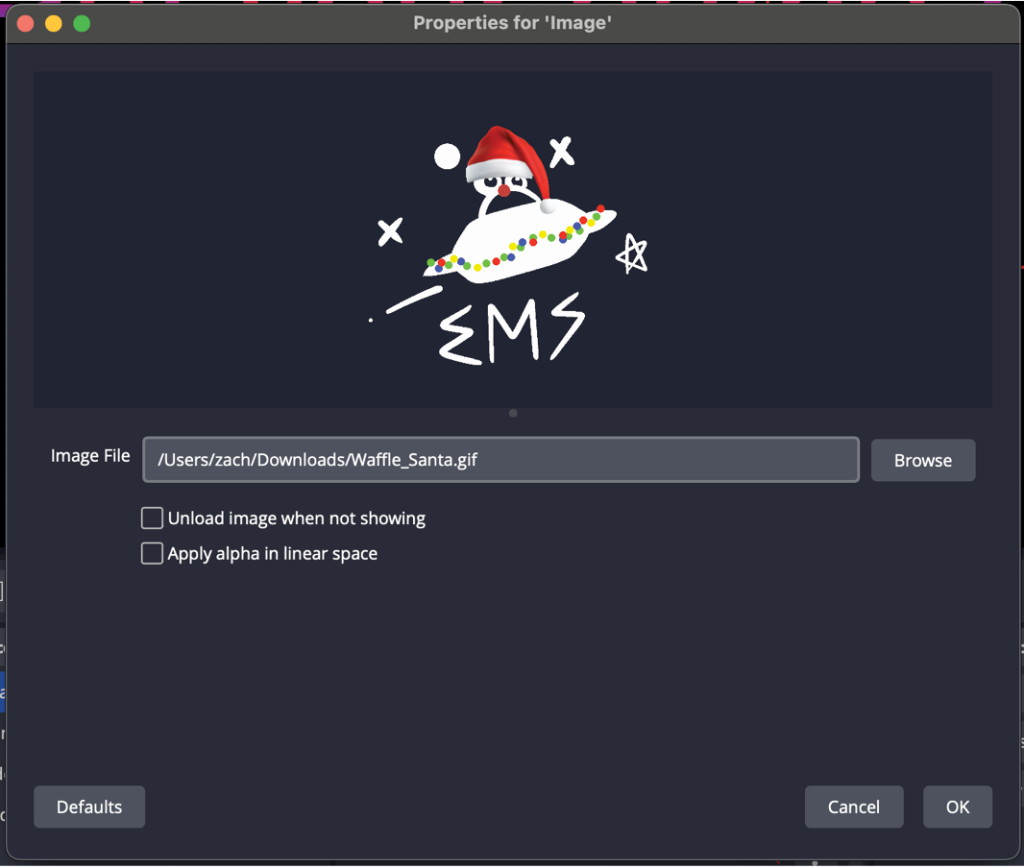
Now you can browse to wherever you have your graphic saved. I recommend not saving these in your downloads folder, but it does work.
You can move and resize your graphics the same as the rest of your sources. Repeat this process to add as many graphics as you’d like, but note that they can use more of your computer’s resources. Clean up any graphics that you’re not using anymore.
With all of that done, you now have a very basic OBS setup. There are tons of neat things that you can do in OBS, like setting up different scenes and transitions, and even setting up VSTs for end of chain processing.
When you’re satisfied with your setup and are ready to start your first stream, grab and admin and let them know. They’ll help you make sure that your audio and video are coming across properly.
14. Finished!
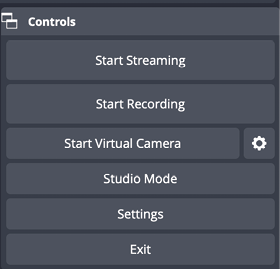
Once you’ve found a test stream buddy, click “Start Streaming” in OBS to start your stream!